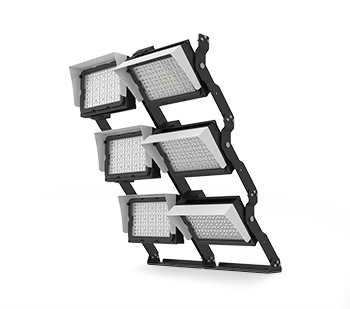
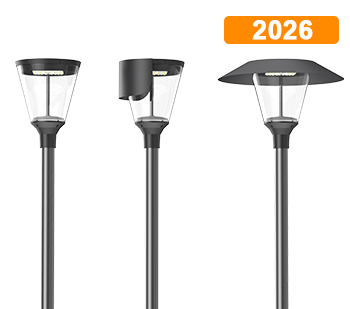
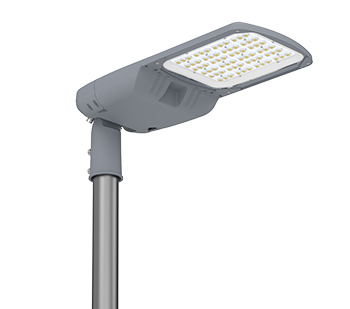
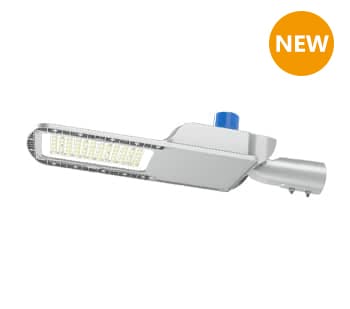
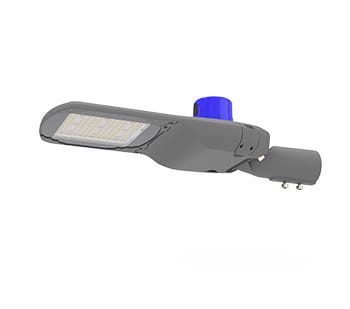
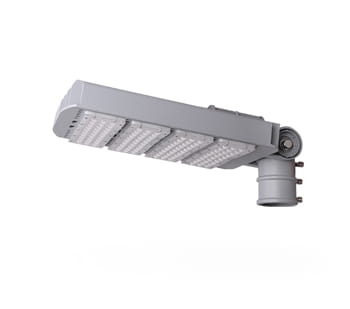
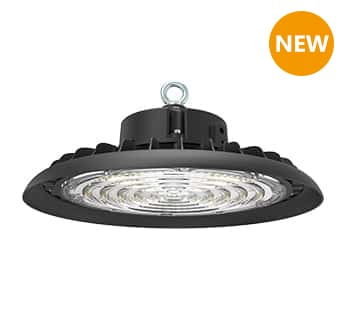
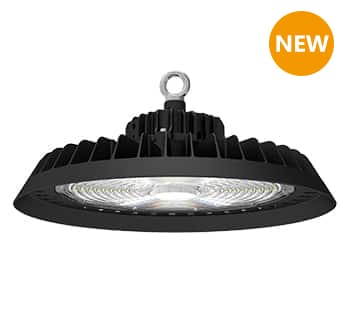
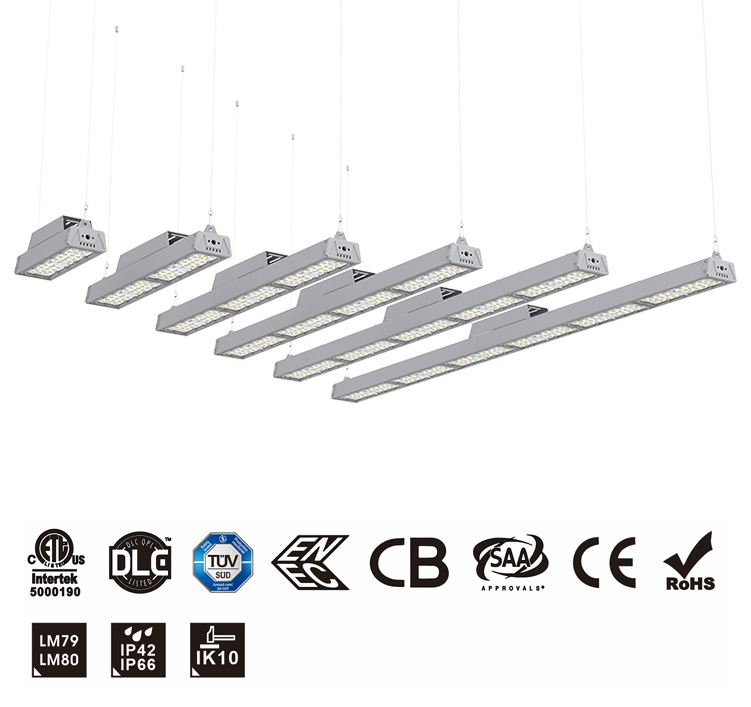
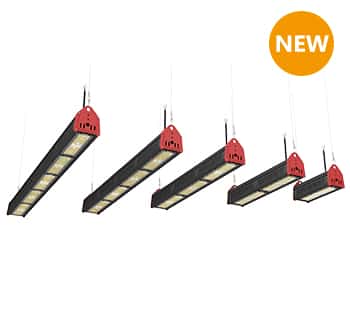
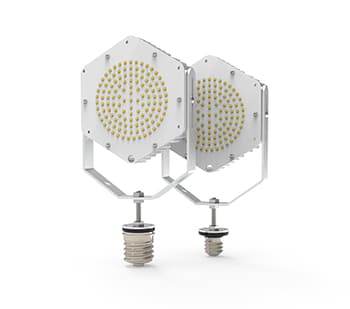
The installation of Pluto LED Street Lights is crucial for ensuring safety and efficiency on roadways. However, contractors often encounter challenges such as inadequate guidelines and safety precautions. This comprehensive installation guide aims to resolve these pain points by providing clear steps, necessary tools, and essential tips to guarantee a successful installation. Here, we will address common contractor questions and deliver robust solutions to enhance the effectiveness of your lighting projects.
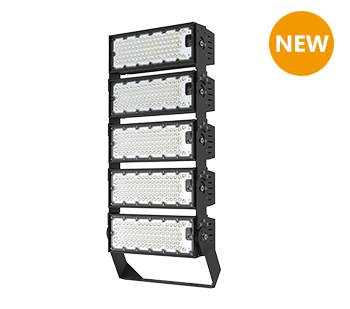
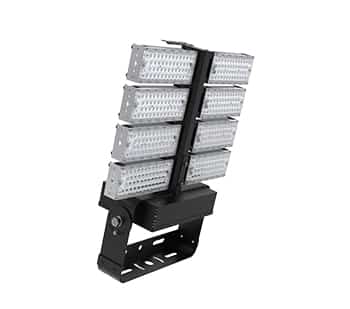
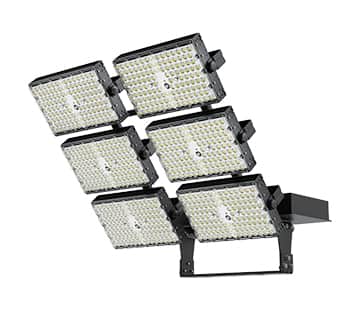
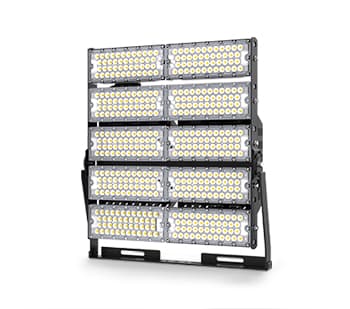
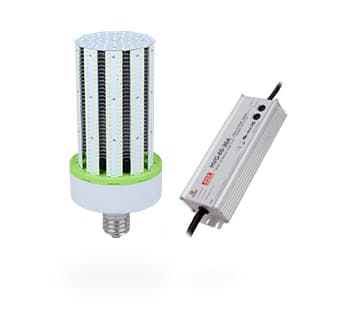
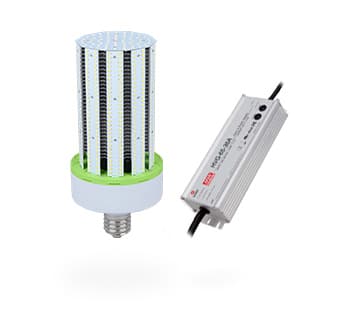
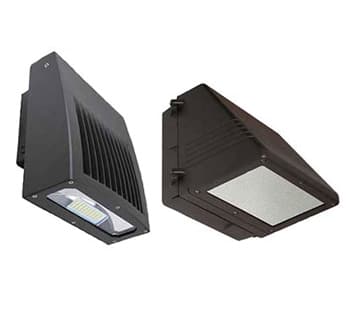
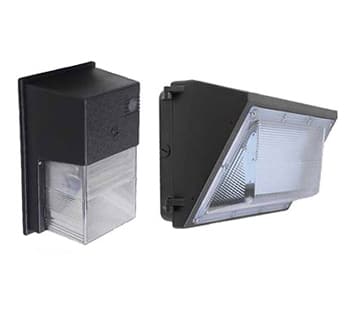
Before beginning the installation, it is essential to understand the components of Pluto LED Street Lights. These lights offer high energy efficiency, long lifespan, and reduced maintenance costs compared to traditional street lighting. This section breaks down the key features and specifications.
Preparing for installation is crucial. This section will cover necessary planning steps and tools essential for a successful installation.
Conduct a thorough site assessment to identify the optimal locations for the street lights, ensuring they meet local regulatory requirements.
| Tool | Purpose |
|---|---|
| Measuring Tape | To determine mounting height and spacing |
| Drill | To secure mounting brackets |
| Level | To ensure lights are installed straight |
| Safety Gear | To protect during installation |
The installation of Pluto LED Street Lights involves a series of detailed steps. Follow this structured guide to ensure each light is installed correctly and safely.
Lampshining.com/data/watermark/20250922/68d09ff294d8a.jpg"/" alt="Pluto LED Street Lights Installation Guide for Contractors" title="Pluto LED Street Lights Installation Guide for Contractors" />Lampshining.com/data/watermark/20250922/68d09ff294d8a.jpg" alt="Installation Process Flow Chart" />
Safety during installation is paramount. This section highlights the best practices for ensuring safety for contractors and the public.
Always wear appropriate PPE, including hard hats, gloves, and safety glasses, to minimize risks during the installation process.
Ensure all electrical connections are safe and comply with local electrical codes to prevent hazards.
Once installation is complete, follow these guidelines to ensure long-term performance of Pluto LED Street Lights.
Schedule regular maintenance checks every six months to ensure the lights function correctly and promptly replace any faulty components.
Provide training to local maintenance staff about the features and maintenance needs of the Pluto LED Street Lights.
The successful installation of Pluto LED Street Lights hinges on proper planning, safety measures, and adherence to best practices. By following this guide, contractors can overcome common challenges and ensure optimal performance for roadway lighting solutions. For more information on products and services, visit Lampshining.
Share the Post
E-mail: william@lampshining.com
Contact Us


Copyright © Lamp Shining Manufacturing Co., Ltd. All Rights Reserved
 1
1